
Most people don’t need to disinfect their toothbrush daily. Rinsing, air-drying, and regular replacement do the heavy lifting. But after an illness, a drop on the floor, or when someone in the house is immunocompromised, a simple, safe disinfection step can add real protection.
What’s Actually Lurking on Your Toothbrush?
Your mouth hosts hundreds of types of oral bacteria, and every time you brush, those microorganisms transfer right onto the bristles. Add the warm, humid bathroom environment, and you get a perfect breeding ground for germs.
The toothbrush doesn’t just collect saliva and food debris. Research from the American Dental Association confirms that toothbrushes can harbor fecal coliform bacteria like E. coli — often kicked up by the toilet plume and landing on the brush. ADA.org Other common uninvited guests include:
-
Streptococcus mutans — a key player in cavity formation
-
Staphylococcus aureus — can cause skin and respiratory infections
-
Candida — the fungus behind oral thrush
- Influenza virus and coronaviruses — capable of surviving on moist surfaces for hours

That microbe mix is normal and usually harmless for a healthy person. But some situations call for extra caution.
When Is Disinfecting a Toothbrush Absolutely Necessary?
Routine everyday hygiene (rinsing after use and letting the brush dry) handles most concerns. Deeper disinfection matters mainly in these specific scenarios:
- You’ve just recovered from strep throat, flu, or COVID-19. Replacing the brush is the gold standard, but if you need to keep using it, disinfection reduces the chance of passing lingering germs to others.
- The brush fell on the floor or into a dirty sink. Immediate sanitizing prevents bathroom-floor bacteria from colonizing the bristles.
- Someone in the home is severely immunocompromised. A higher level of brush cleanliness can lower the risk of opportunistic infections.
- Multiple toothbrushes touched each other in a shared holder. Cross-contamination can spread someone else’s oral flora to your brush.
In many post-illness cases, experts simply say: toss it. Cleveland Clinic dentist Dr. Kahn notes, “Pitching your toothbrush is crucial if you’re sick or have a fungal, yeast or viral infection in your mouth.” Cleveland Clinic Disinfection is a middle ground for when a new brush isn’t immediately available.
3 Cleaning “Hacks” You Should Always Avoid
Social media is full of dangerous shortcuts. They can ruin the brush or even create new health risks.
Boiling Water
Dunking a toothbrush in boiling water may kill germs fast, but it warps nylon bristles, melts rubber grips, and creates sharp, gum-damaging edges. The ADA specifically warns that high heat can decrease the brush’s cleaning effectiveness. ADA Statement
Microwave “Sterilization”
Even a few seconds can melt plastic handles, cause arcs on metal parts, and leave uneven hot spots that don’t reliably kill all pathogens. It’s a fire and safety hazard with no benefit.
Dishwasher Cycle
The intense heat and harsh detergents degrade bristle structure faster than any mouth could. Broken bristles then scratch gums and trap biofilm instead of removing plaque.
How to Disinfect Your Toothbrush Safely: 4 Dentist-Approved Methods
Each of these methods lowers bacterial load without destroying the brush in the process.
Method 1: The Antibacterial Mouthwash Soak
This is the easiest method — you likely already have antibacterial mouthwash at home. Soaking works because alcohol or chlorhexidine disrupts bacterial cell walls.
Step-by-step: - Pour enough antibacterial mouthwash into a clean cup to fully submerge the brush head. - Place the toothbrush bristles-down in the liquid. - Let it soak for 15 to 30 minutes. - Pull the brush out, rinse it thoroughly with tap water, and let it air-dry upright.
-
Pros: Quick, convenient, no mixing required.
- Cons: Some mouthwashes may slightly stiffen bristles over time; efficacy varies against certain viruses.
Method 2: The Diluted Hydrogen Peroxide (3%) Rinse
This is the budget champion and a research-backed performer. A 2026 systematic review found that 3% hydrogen peroxide was one of the most effective toothbrush disinfectants, often outperforming mouthwash and UV light. ScienceDirect
What you’ll need: - Regular 3% hydrogen peroxide (the standard brown bottle — never use higher concentrations). - A clean cup. - Tap water.
Steps: 1. Mix 1 teaspoon of 3% hydrogen peroxide with 1 cup of water (or use a 50/50 blend for a stronger solution). 2. Swish the bristles in the solution or submerge them for 15 minutes. 3. Rinse the brush completely under running water before your next use. 4. If you choose to store the brush in the peroxide solution, replace it every day.
Warning: Hydrogen peroxide can slowly bleach colored bristle tips. That’s cosmetic — the bristle integrity remains far better than with boiling or microwaving.

Method 3: UV-C Toothbrush Sanitizers
These countertop devices use ultraviolet light to damage the DNA of bacteria and viruses. When they work well, they can reduce bacterial load by over 99%.
But quality matters hugely. The ADA suggests picking only UV sanitizers that are cleared by the U.S. Food and Drug Administration (FDA) because those devices have been tested for their sanitization claims. ADA Statement
What to look for when buying a UV sanitizer: - FDA-cleared claim (not just “FDA registered”) - Adequate exposure time (at least 5–10 minutes) - The light reaches all sides of the bristle head - Reliable bulb quality with a replacement indicator
Bear in mind: UV doesn’t prevent recontamination. Bacteria start recolonizing within hours of use. For most healthy people, a UV sanitizer is a “peace of mind” gadget, not a medical necessity.
Method 4: The Effervescent Denture Tablet Soak
Denture cleaning tablets are gentle, non-abrasive, and specifically designed to break down plaque proteins and kill odor-causing microbes. They’re an excellent, often overlooked option for toothbrushes.
Drop one tablet into a cup of water, let it fully dissolve, and soak your brush head for the time indicated on the tablet pack (usually 15–30 minutes). Rinse well afterward. The alkaline peroxides and detergents loosen debris between bristles without the roughness that shortens brush life.
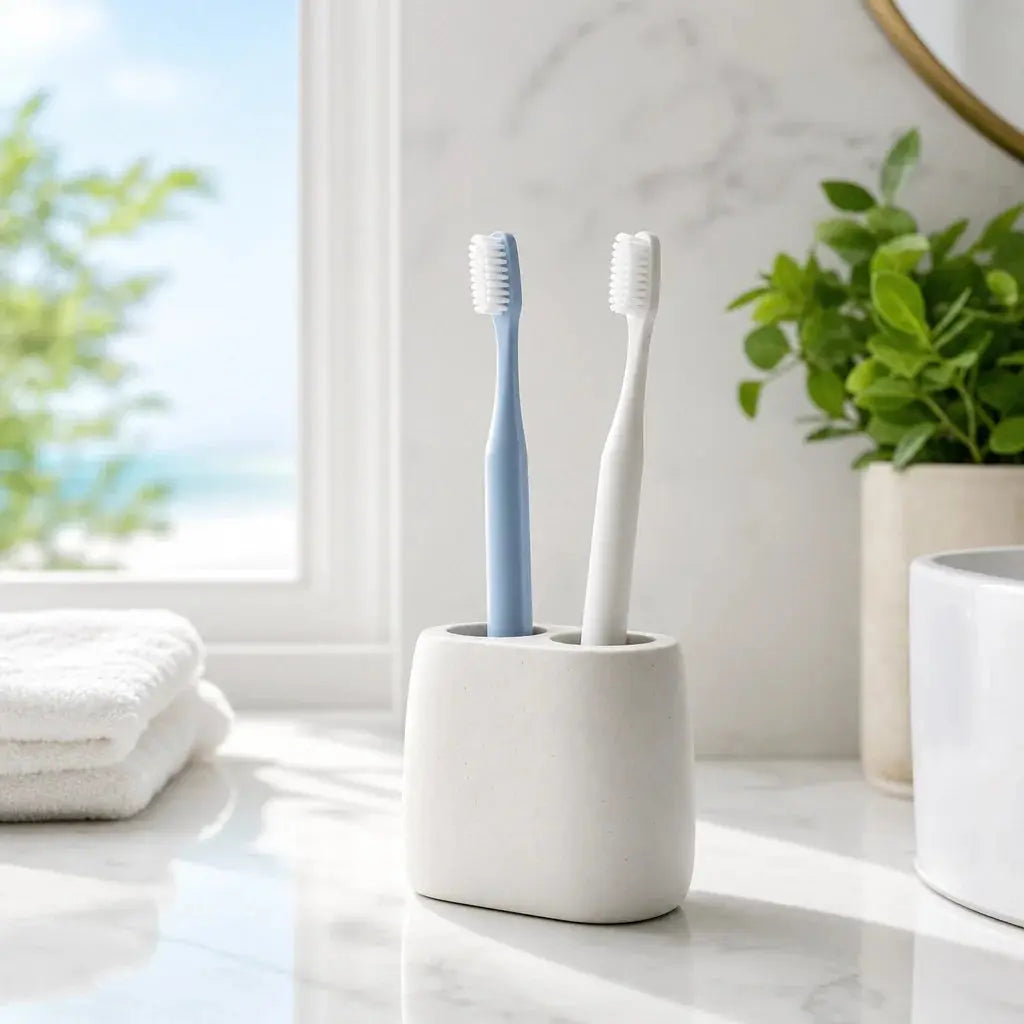
Where and How to Store Your Toothbrush to Prevent Bacteria Growth
Disinfection means little if the brush sits in a damp, dark holder. Smart storage is the real daily protector.
| Do’s | Don’ts |
|---|---|
| Rinse the brush thoroughly after every use to remove paste and debris | Don’t store the brush in a closed, air-tight travel case while wet |
| Store upright in an open-air holder so water drains away | Don’t keep multiple brushes touching each other in one cup |
| Let the brush air-dry completely between uses | Don’t routinely cover the brush head — moisture fuels germs |
| Keep the holder at least a few feet from the toilet | Don’t leave brushes near the sink where splashes hit |
These simple habits follow long-standing ADA guidelines. When the bristles dry out, anaerobic bacteria die off naturally — no extra products required. ADA MouthHealthy

How Often Should You Replace Your Toothbrush Instead of Disinfecting It?
All disinfection methods have limits. Once bristles are frayed, splayed, or show any discoloration, no soak or UV light can restore their cleaning power. The ADA says replace your toothbrush every three to four months, or sooner if the bristles look worn. ADA Statement
Even more important: replace it immediately after recovering from a contagious illness. That step alone does more to prevent reinfection or household spread than any disinfection routine.
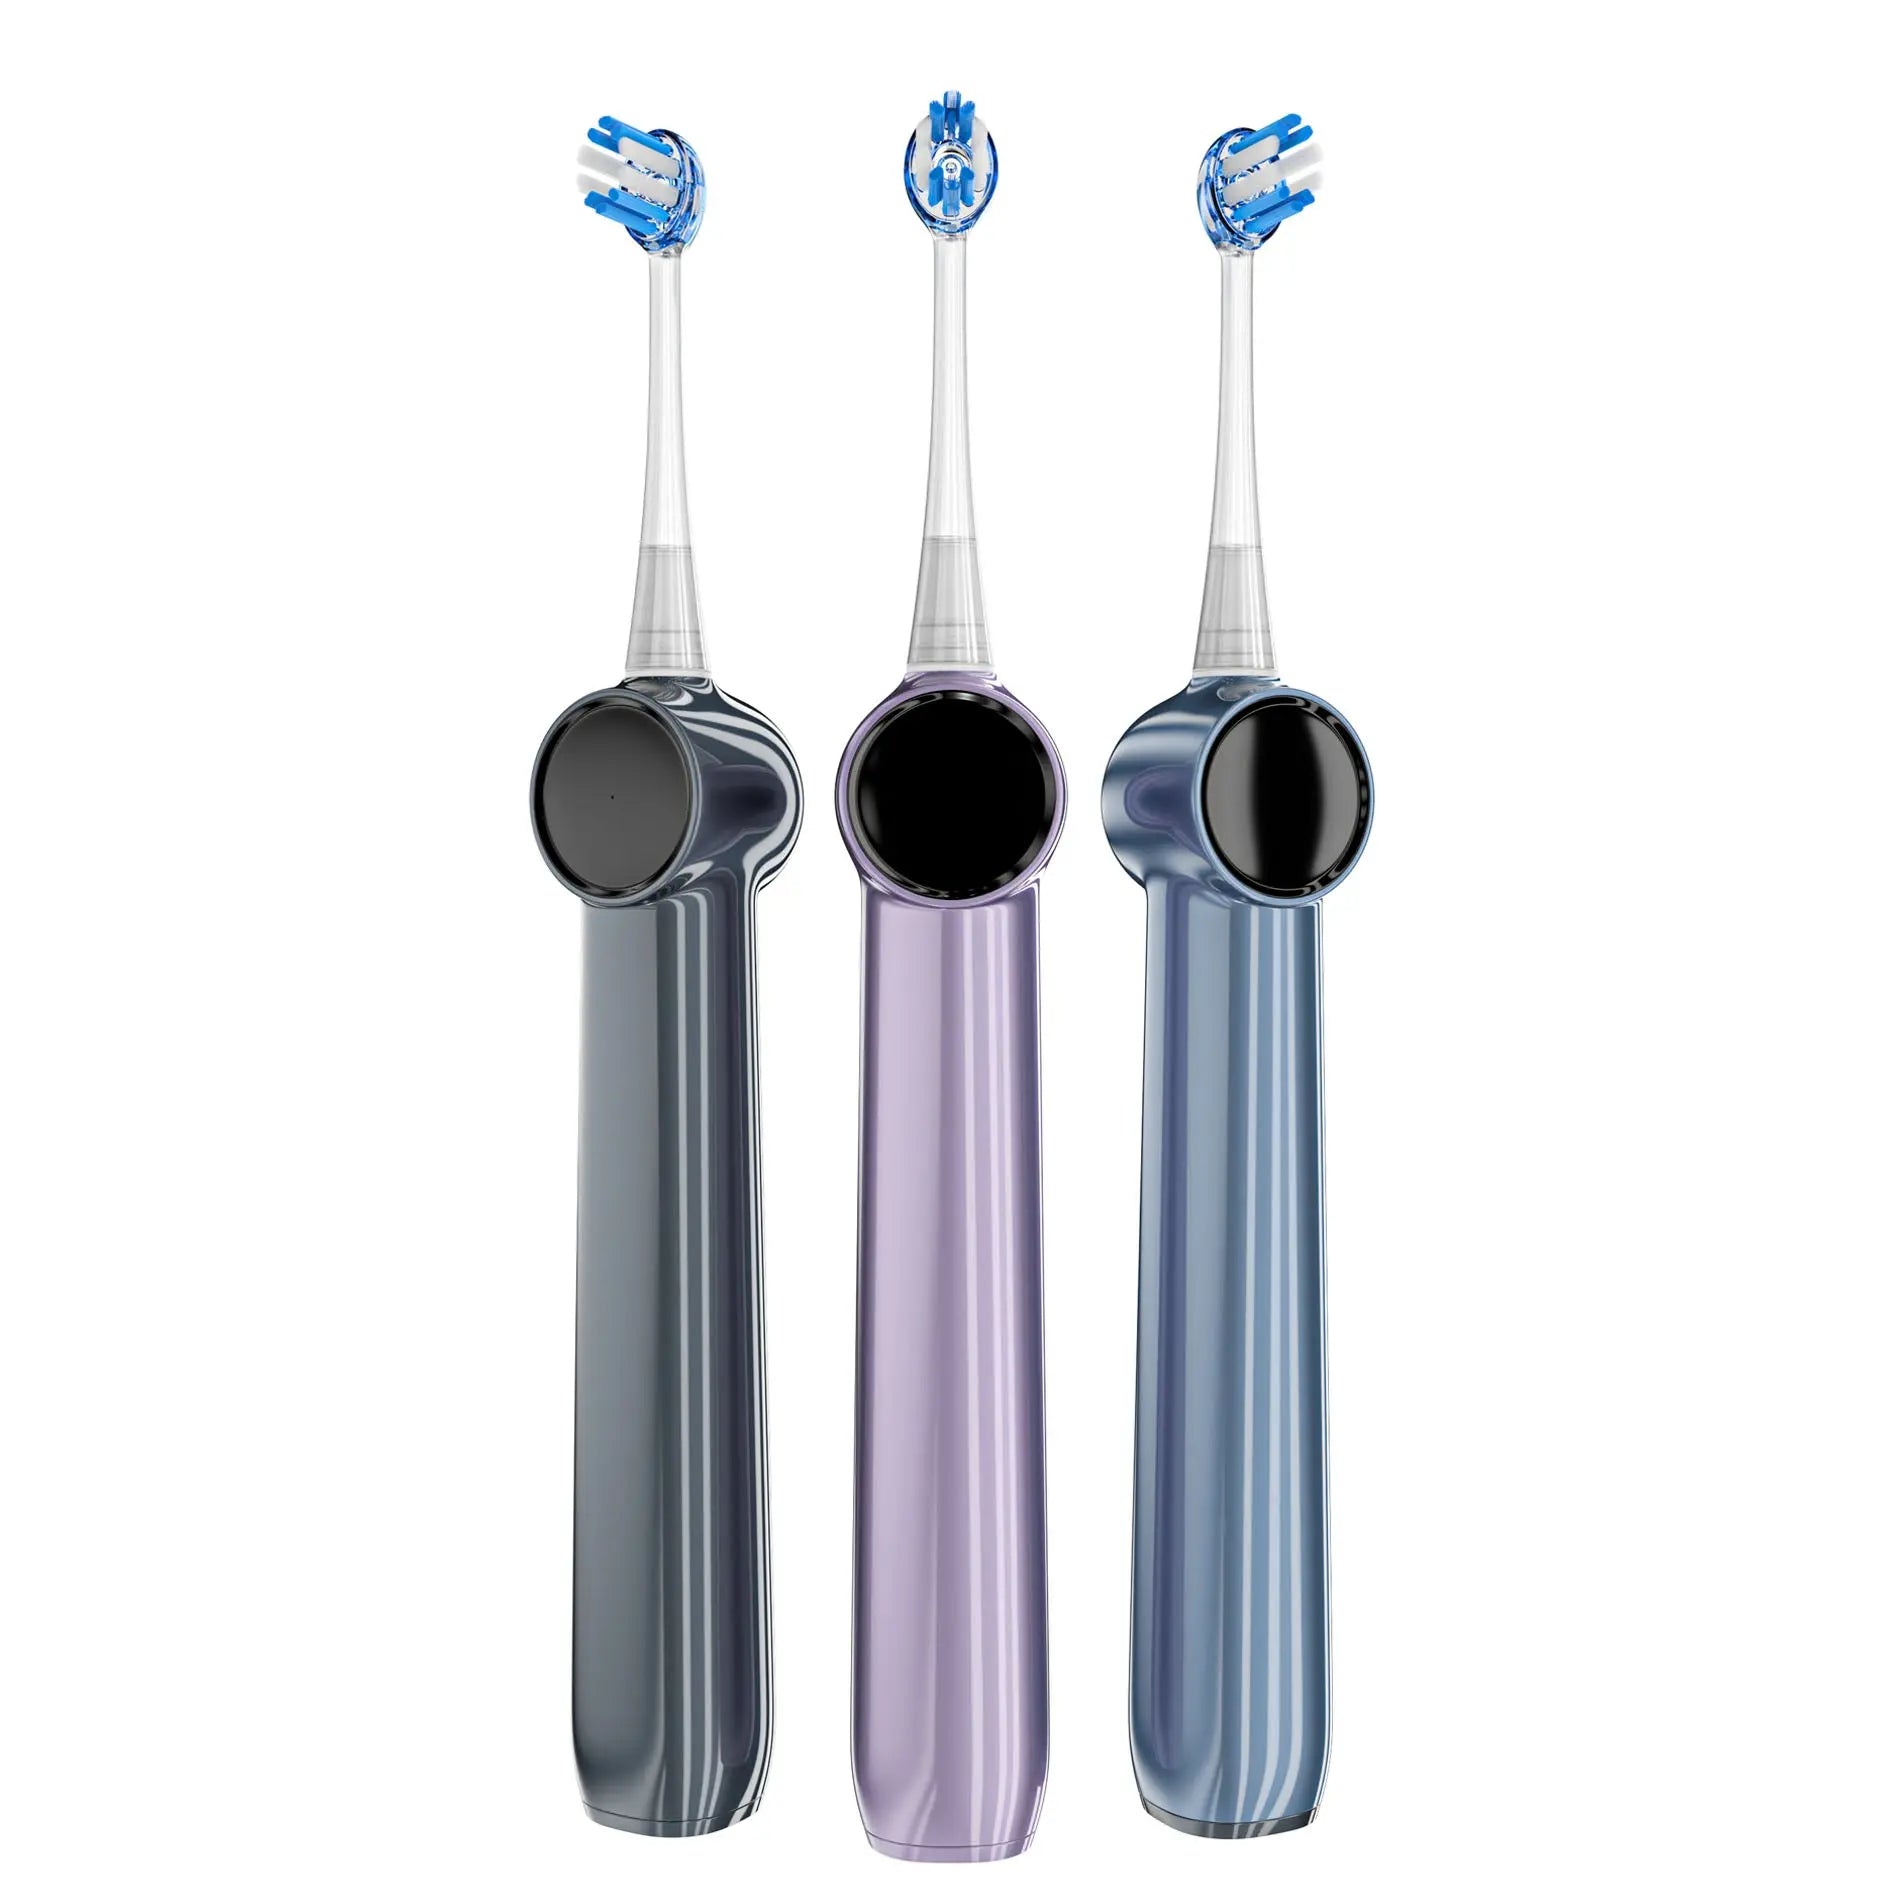
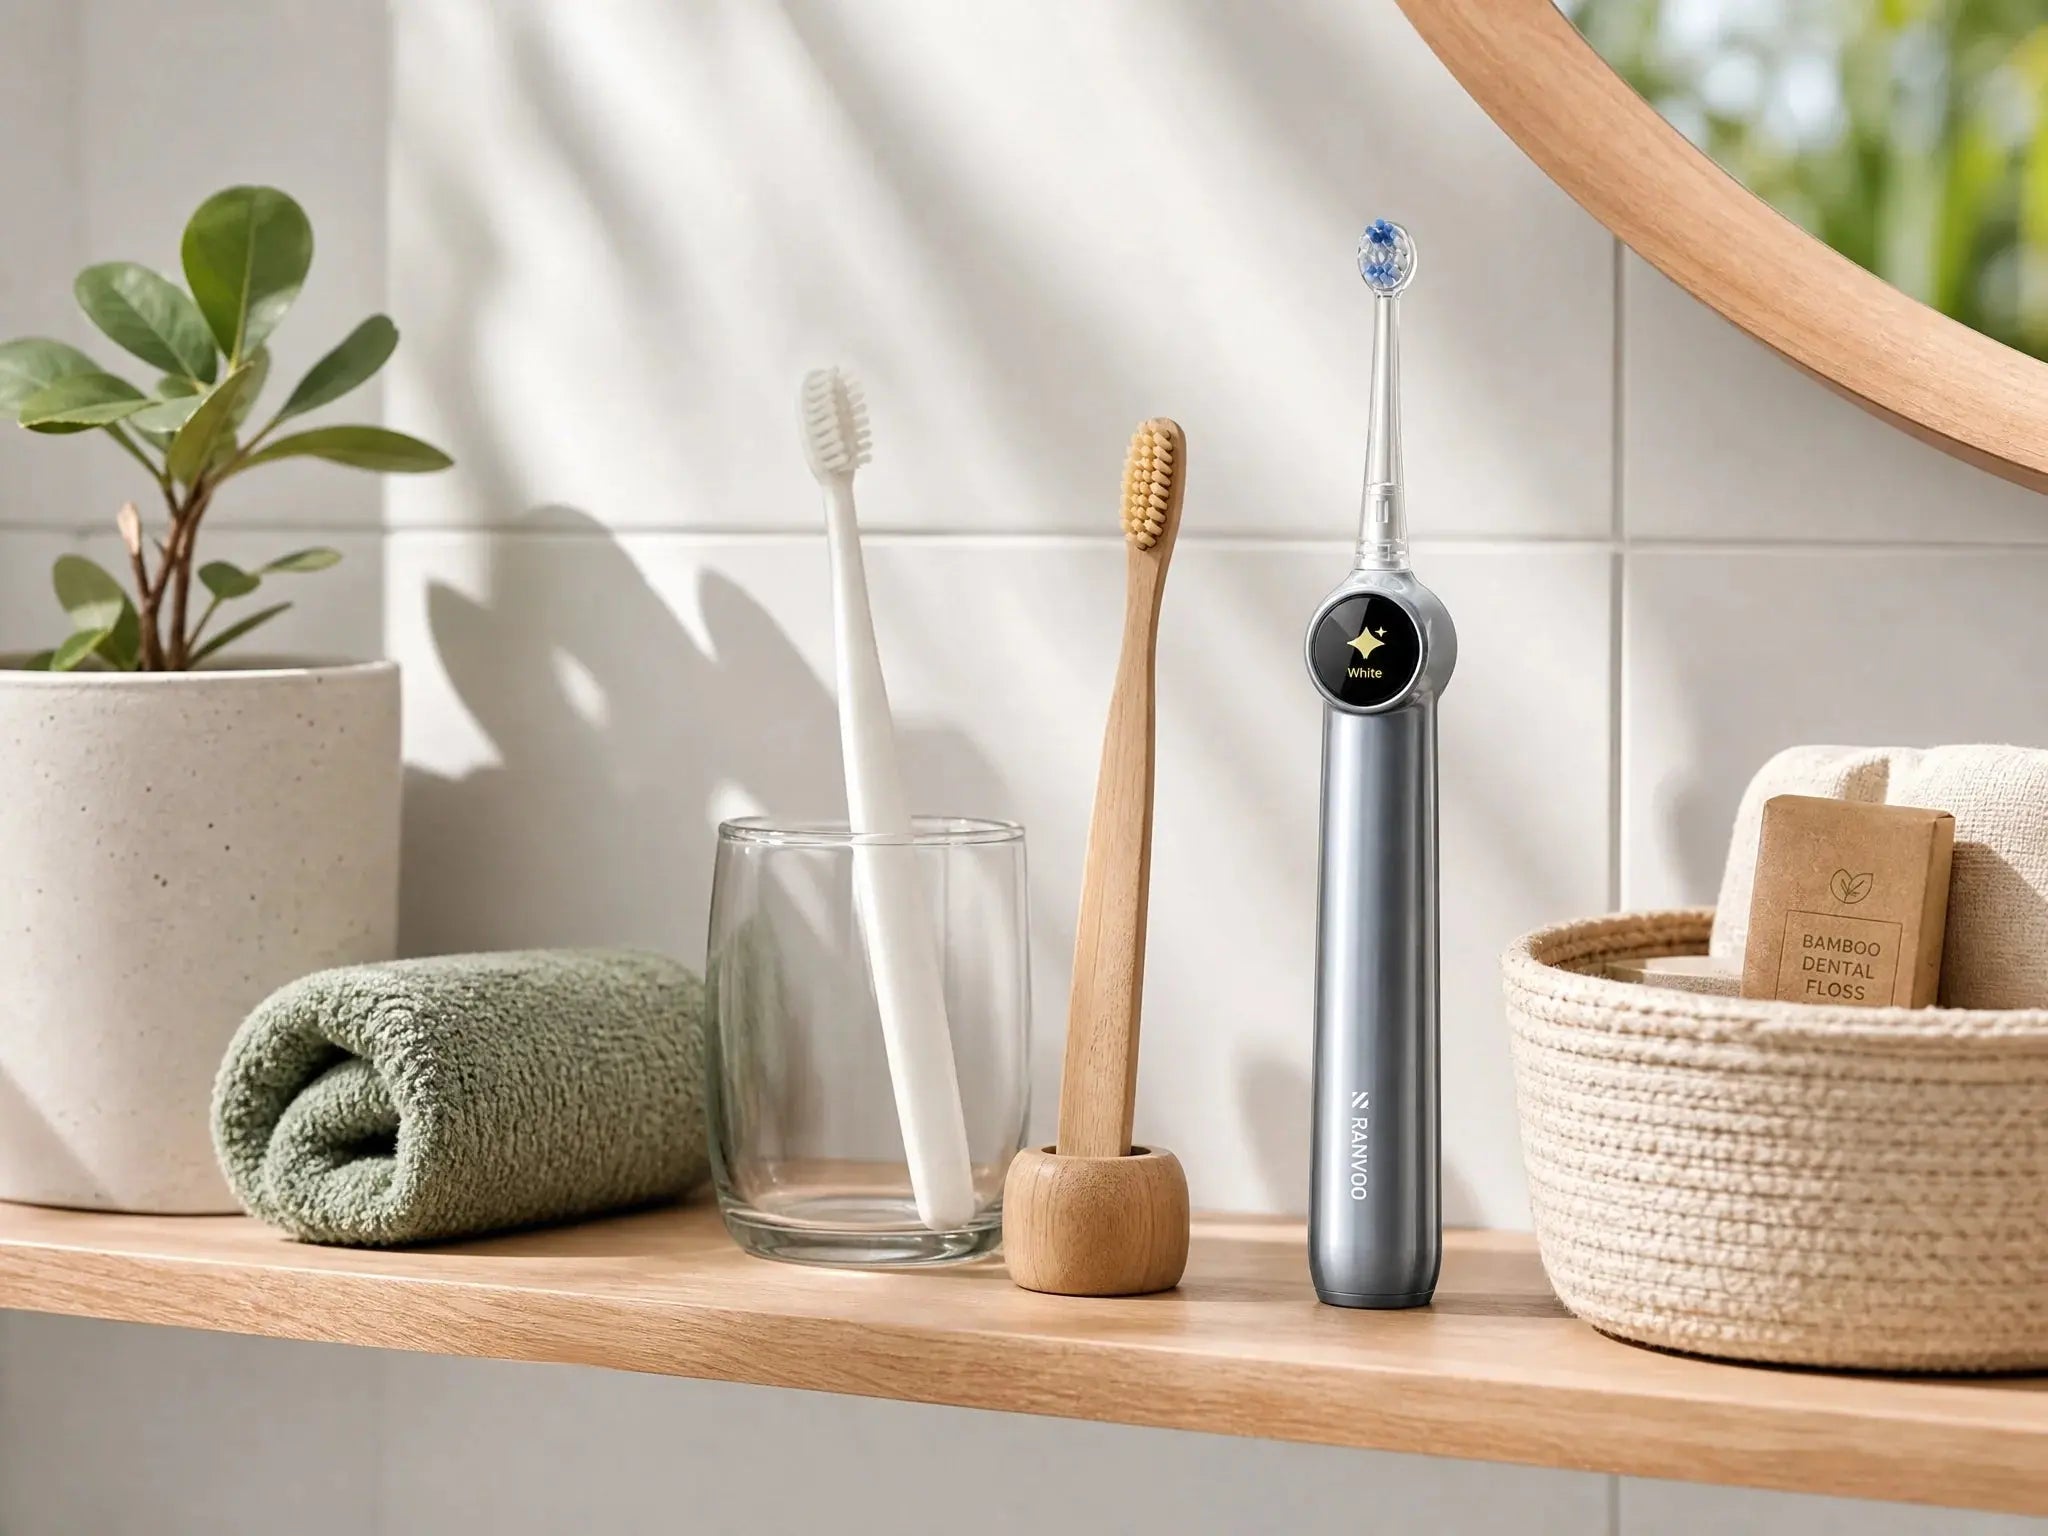
When bristles look bent, the brush can’t scrub properly — and disinfection just gives you a germ-free but ineffective tool. Freshness beats sanitization every time. For those with sensitive gums, an electric toothbrush like the RANVOO AirJet X5 — with its protective bubble cleaning technology — can provide a thoroughly clean feel while minimizing gum damage, but its brush head still needs regular replacement.
Check the brush regularly. If it looks anything less than straight and clean, let it go. A toothbrush’s real job is plaque removal, and whether you use a manual brush or an advanced electric model like the RANVOO AirJet X5, a clean, springy brush head is your best daily ally for that.